Vinyl wraps are an excellent way to customize and protect your vehicle, but there may come a time when you need to remove or peel the wrap adhesive. Whether you’re selling your car, switching up the design, or returning a leased vehicle, proper wrap removal is essential to preserve the original paintwork underneath. In this blog, we’ll guide you through the wrap removal process, cleaning, highlight the tools and also materials you’ll need, and share some insights from satisfied clients.

Tools Used in Wrap Removal
Proper wrap removal requires specific tools to ensure the process is done efficiently and therefore without damaging the vehicle’s original paint. Here are the essential tools you’ll need, along with their respective brands:
- Heat Gun/ Torch: A heat gun and torches are crucial for softening the adhesive on the vinyl wrap. Making it easier to peel off without causing damage.
- Plastic Razor Blades: These are used to gently lift the edges of the wrap without scratching the paint and to remove the glue residue with the help of the adhesive remover.
- Adhesive Remover: This solvent helps in removing any adhesive residue left on the surface after the wrap is peeled off.
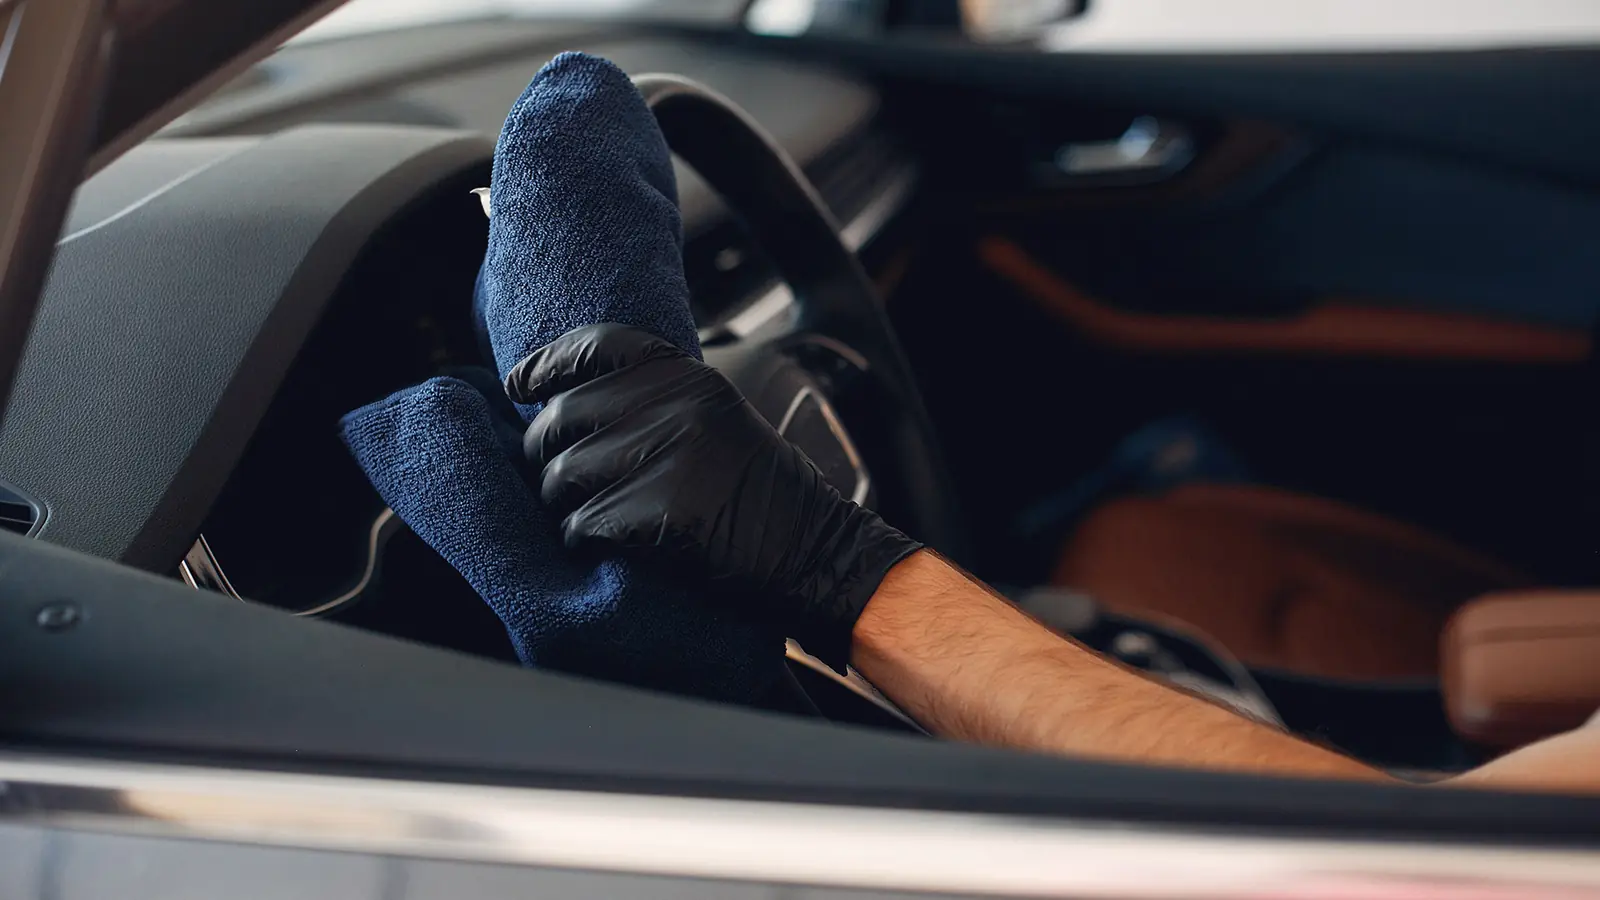
- Microfiber Cloths: Soft cloths used to wipe down the vehicle and ensure the surface is clean. Also to free any leftover adhesive.
The Wrap Removal Process with The Tools
- Preparation:
- Clean the Vehicle: Firstly, start by washing the vehicle to remove any dirt or debris. This prevents contaminants from scratching the paint during the removal process.
- Heat Application: Secondly, use the Heat Gun or torch to warm the vinyl wrap. Hold the heat about 6-8 inches from the surface, moving it in a circular motion to evenly distribute the heat.
- Peeling the Wrap:
- Lift the Edges: Use the Plastic Razor Blade Scraper tool to gently lift one corner of the wrap. Once you have a good grip, start peeling the vinyl back at a shallow angle.
- Apply Heat as You Go: As you peel, continue to apply heat with the heat gun or torch to soften the adhesive, making it easier to remove the wrap.
- Removing Adhesive Residue:
- Apply Adhesive Remover: Remove the wrap, apply Adhesive Remover tool to any leftover adhesive. Let it sit for a few minutes to break down the adhesive.
- Wipe Down: Use a Microfiber Cloth or water to wipe away the adhesive remover and any residue.
- Final Cleaning:
- Surface Cleaning: Clean the entire surface with an isopropyl alcohol solution or soap and also water to remove any traces of adhesive remover, leaving the paint clean and smooth.
Conclusion
To conclude, proper wrap removal and tools are essential to maintaining the integrity of your vehicle’s paint. By using the right tools, materials, and techniques, so you can ensure a smooth, damage-free process. Whether you’re changing up your style or preparing to return a leased vehicle, Wraps For Less is here to help.
Visit our Instagram for more content, or call us at (407) 447-9045 to schedule a consultation and get a quote for your car wrap. Protect and personalize your vehicle with confidence at Wraps For Less!