This is a complete guide for designing and installing a car wrap, which is a fantastic way to personalize your vehicle, change color, advertise your business, or protect your car’s paint. However, to ensure a seamless process and stunning results, there are important factors to consider throughout the design and installation stages. In this blog, we’ll cover everything you need to know, including design considerations, communication with the printing company, rules to follow, and the benefits of a professionally installed car wrap.
Table of contents

Guide for Things to Take into Consideration While Designing Your Car Wrap
1. Purpose of the Wrap
- Personal or Commercial Use: Determine if the wrap is for personal aesthetics or business branding. For personal use, focus on unique designs that reflect your personality. For business wraps, prioritize brand visibility with clear logos and contact information.
2. Vehicle Dimensions
- Ensure your design fits the specific make and model of your vehicle. Every car has unique curves, edges, and also contours that should be accounted for to avoid design distortion.
3. Colors and Visibility
- Choose colors that align with your purpose. For business wraps, opt for bold and contrasting colors to grab attention. For personal wraps, consider complementary tones or also patterns that suit your style.
4. Simplicity in Design
- Less is often more when it comes to car wraps. Avoid cluttered designs and focus on key elements like logos, text, or patterns that make an impact without overwhelming the viewer.
Guide for Communication with the Printing Company
1. Share Your Vision Clearly
- Provide the printing company with a clear idea of your design, including details like color codes, text size, and layout. The more precise you are, the better they can execute your vision.
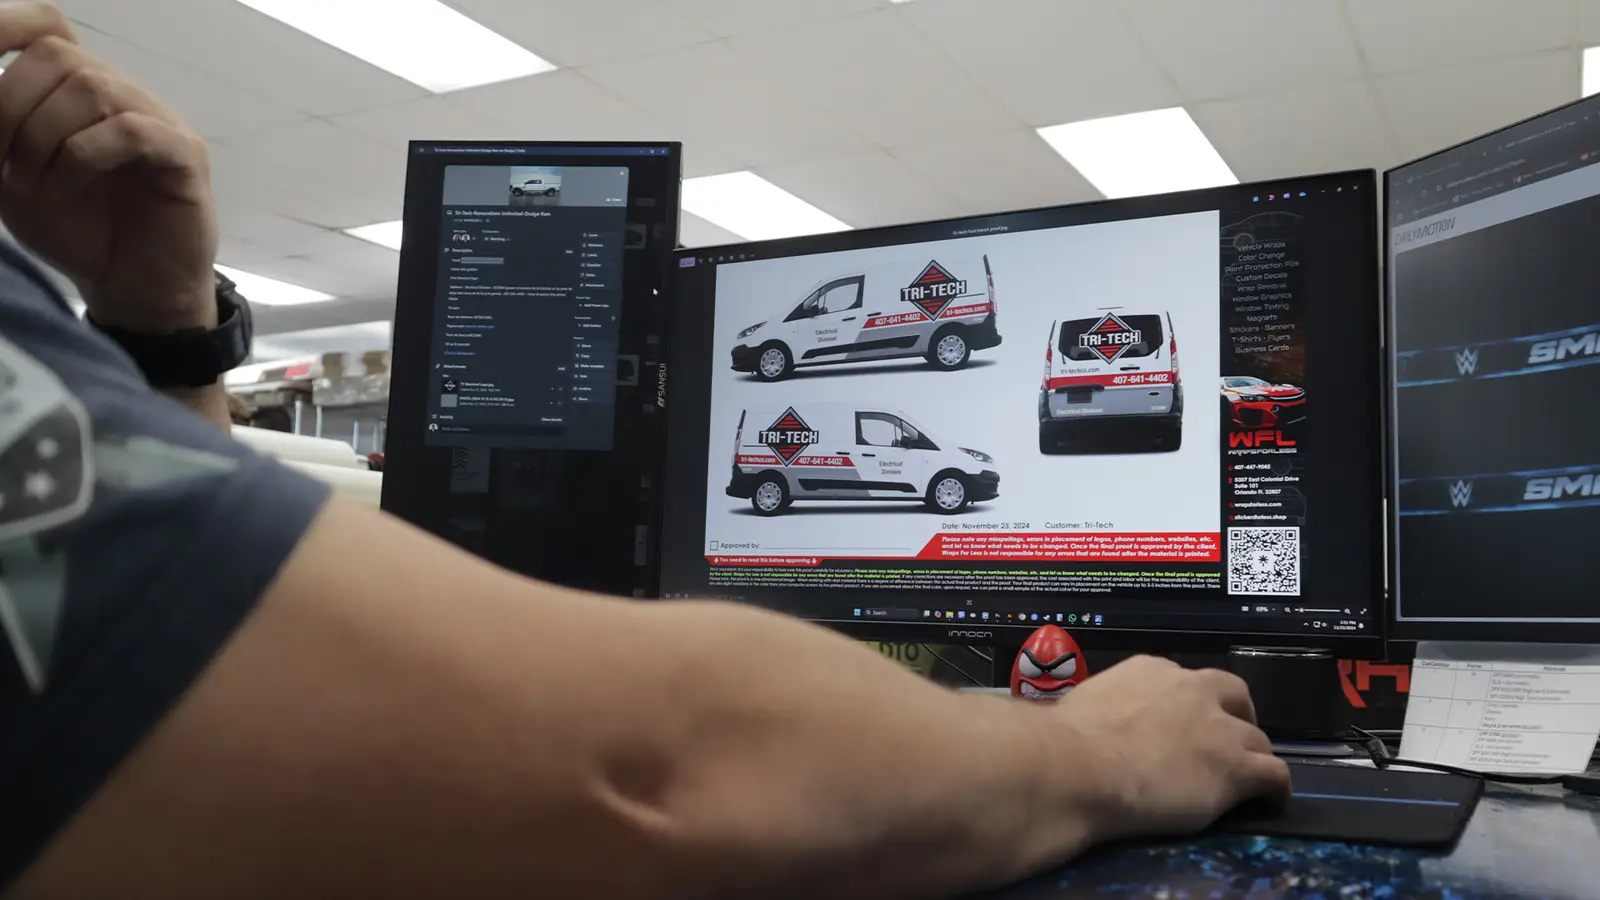
2. Request Proofs
- Always ask for a digital proof or mock-up of your design before printing. This allows you to visualize the final product and make adjustments if needed.
3. Understand Printing Constraints
- Be aware of what’s technically feasible with printing. Some designs, such as gradients or ultra-fine details, may not print as expected. Communicate with the company to set realistic expectations.
4. Timeline and Scheduling
- Discuss the timeline for design approval, printing, and installation to ensure everything is completed on time, especially if the wrap is for a specific event or campaign.
Guide and Rules for Effective Car Wrap Design
- Follow Local Regulations:
- Ensure your design complies with local laws regarding wraps, especially for commercial vehicles. Some areas have rules on displaying logos, text size, or specific colors for certain industries.
- Ensure Readability:
- For commercial wraps, text should be legible from a distance. Use large fonts and avoid overly decorative typefaces that are hard to read.
- Avoid Overstretching the Wrap:
- Keep key design elements, like logos or text, away from areas prone to distortion, such as door handles or curves.
Knowledge and Benefits of Car Wraps
Knowledge:
- A high-quality car wrap acts as a protective layer for your vehicle’s original paint, shielding it from UV rays, scratches, and also minor abrasions.
- Wraps are temporary yet durable, therefore allowing you to update your vehicle’s look as trends or needs change.
Benefits:
- Cost-Effective Customization: Wraps are more affordable than a custom paint job and can be removed or updated as desired.
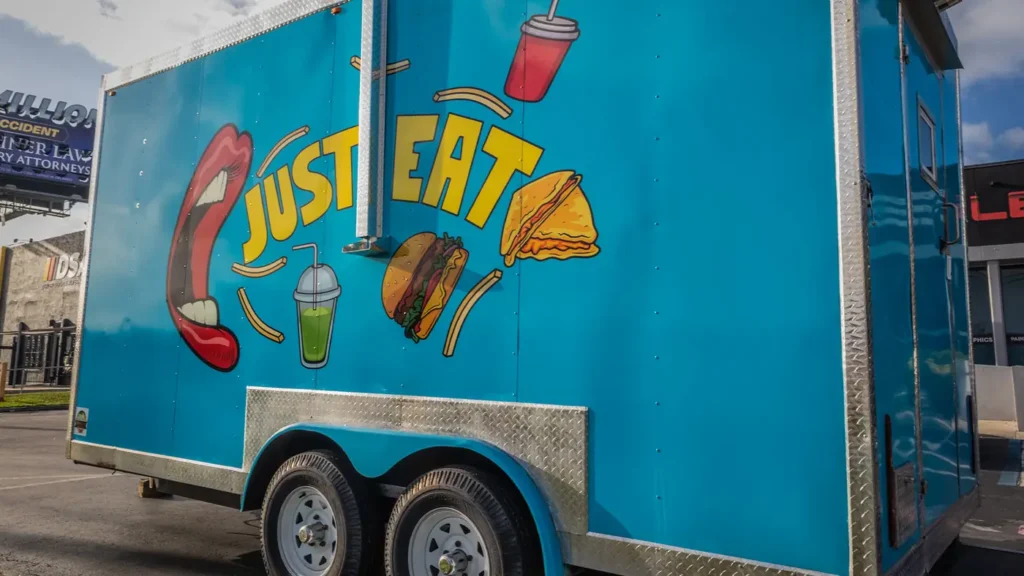
- Advertising Potential: For businesses, wraps turn your vehicle into a mobile billboard, reaching thousands of potential customers daily.
- Resale Value: By protecting the original paint, wraps preserve the resale value of your vehicle.
The Guide of Installation Process
1. Surface Preparation
- The vehicle must be thoroughly cleaned and dried to ensure the wrap adheres properly. Dirt or grease can also cause bubbles or peeling.
2. Application
- The wrap is applied using precision tools like squeegees and also heat guns. Professionals work panel by panel, therefore smoothing the vinyl to prevent wrinkles or air bubbles.
3. Trimming and Edging
- Excess material is carefully trimmed, and also edges are sealed to prevent peeling over time.
4. Post-Installation Inspection
- After the wrap is applied, to point out, it’s inspected for any imperfections. Some wraps may require post-heating to set the material and additionally ensure durability.
Conclusion
Designing and installing a car wrap involves careful planning, clear communication, and expert execution. By considering your goals, working closely with the printing company, and following best practices during installation, you can achieve a stunning, long-lasting result that meets your needs.
Visit our Instagram for more car wrap inspiration, or call us at (407) 447-9045 to schedule a consultation. Let Wraps For Less help you design and install a car wrap that transforms your vehicle and stands out on the road!